DIY Eyelash Extensions- A Guide To Apply Those
If you have spent time seeing instagram feeds of a celeb, you might have indeed seen celeb crazed about lash extensions or posting selfies with perfect eyelashes. Everybody loves lash extensions for the ability to give voluminous and thick lashes and be in effect even with social distancing. However, we always can’t reach the nearby parlor to get the eyelash extension to be installed. The good news is that you can get a doe-eyed look at your home with DIY eyelash extensions. If placed and maintained accurately, it can last for a longer time, like for a week, and won’t break the savings. So let us come to the main point: how to apply for DIY eyelash extensions on your own and save so much money.
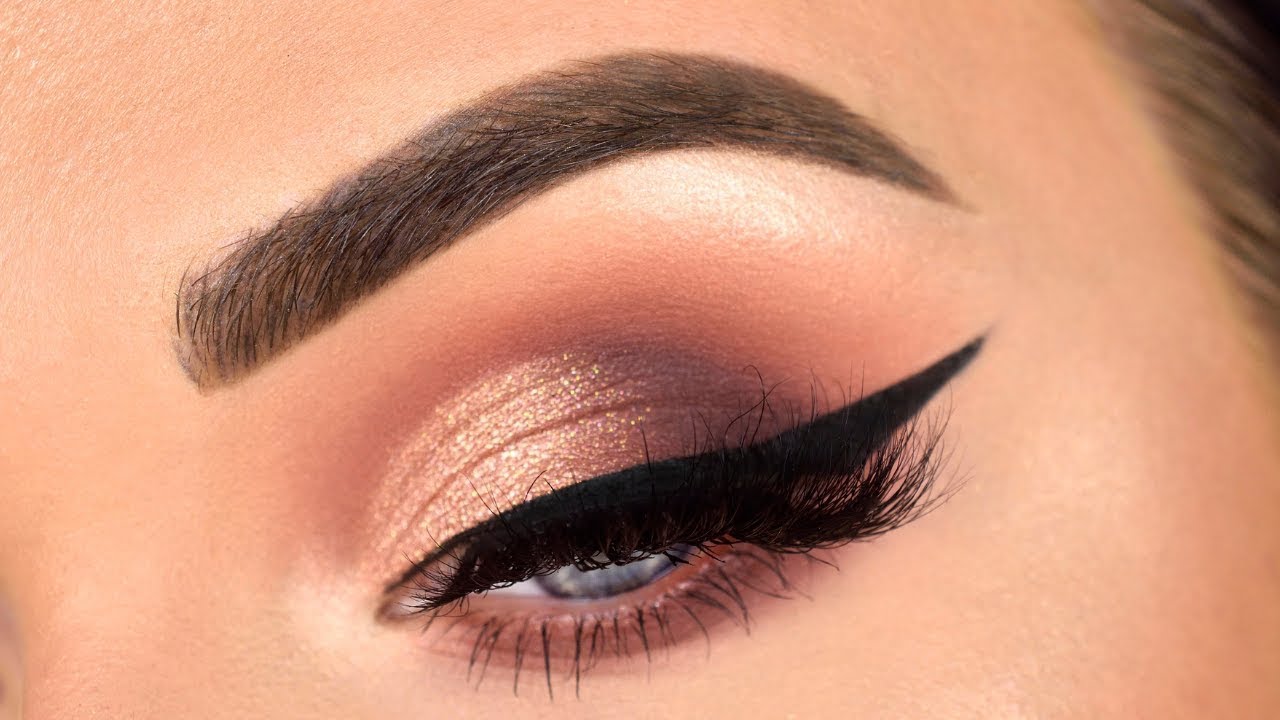
What are eyelash extensions?
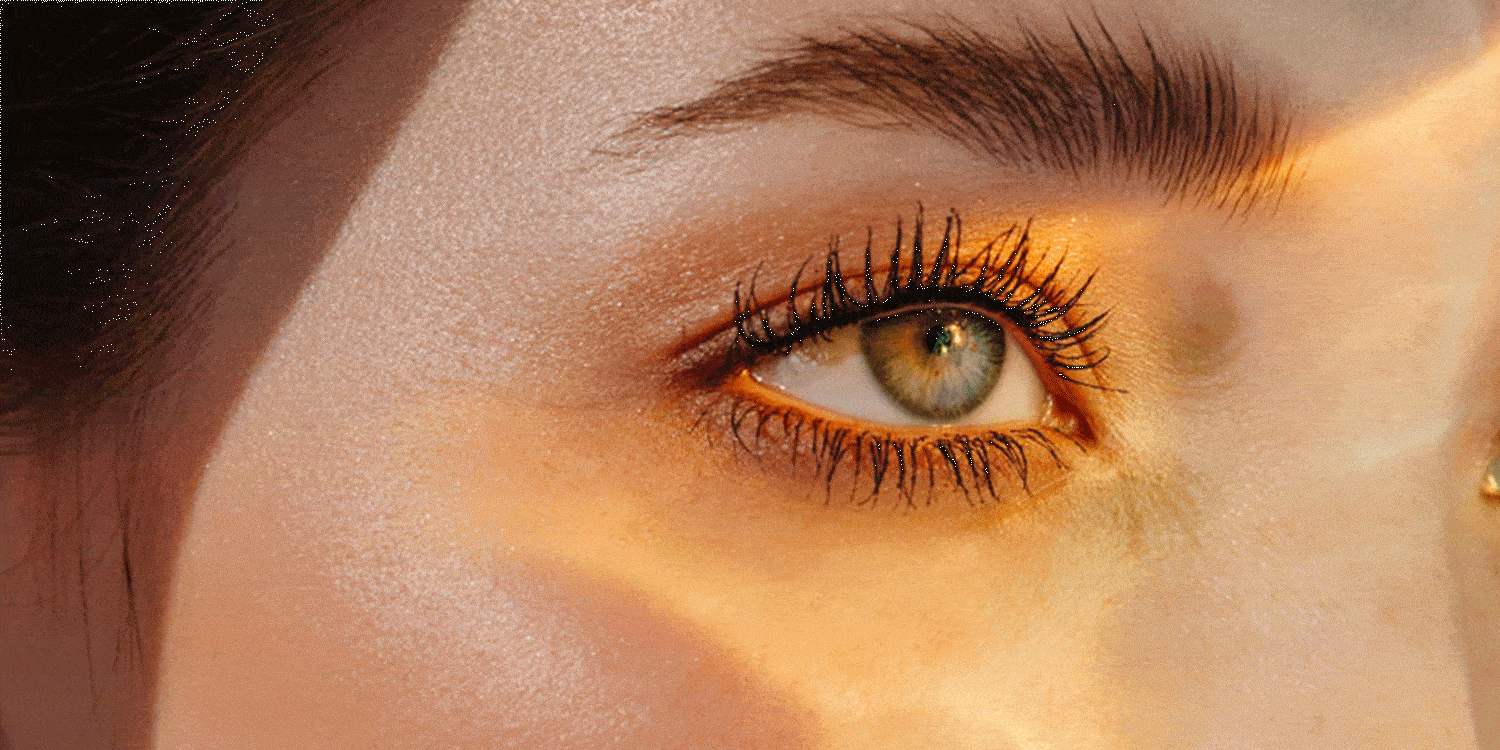
Eyelash extensions are synthetic lashes that are applied straightforwardly to the natural eyelash using a bonding agent. The extension comes in small bundles of just eight or nine individual lashes, and each is directly glued to your natural lash. The application process takes an hour if done by professionals. In case you do it yourself at home, it may take time, but slowly it will become your habit, and once you become knowledgeable about how to apply it, it’s going to be more straightforward and fast to do the task. Remember that eyelash extension must last for at least two to eight weeks and will fall as your natural one falls out.
Here’s all you need to know when it comes to applying for eyelash extensions yourself-
#1- Choosing extensions-
– Evaluate your natural lashes extensions-

If your eyelashes are strong and thin naturally, elongated and bulky won’t last long and possibly will damage them. Before you choose extensions, you must examine your lashes. The healthier and longer they are, the more heaviness they can endure. If you haven’t applied for extensions earlier, start with a half set to see how natural lashes hold up. Later you may add more extensions if you want the more embellished look.
– Pick the type and design-
There are three kinds of extensions, namely silk, synthetic, and mink. Synthetic is less expensive, and mink is more. Usually, the length ranges from 6mm-17mm. The extension comes in ranges of thickness, colors, and curls. Consider your goal before making a selection. If you aim at creating a natural look, choose medium-length ones in brown-black. If you want to buy eyelash extensions as a part of the costume, explore different colors and thicknesses.
– Select in different lengths-
Once settles on actual thickness and length, choose lashes that vary in lengths. A subtle variation provides the most natural-looking outcome. Three sizes in a similar length range must be enough. The shortest one will be used for filling space in the lash line. Also, it will keep the appearance from looking crowded and unnatural.
– Shop for eyelash extension kit-
If you plan to put eyelash extensions on your own, you must get the beauty supply store’s kit. A kit includes different sized eyelashes with all tools that you need when applying for extensions. If you are going to use DIY eyelash extensions on your own, this kit will be useful. Each kit is different. Read and follow the commands included with the kit.
– Consider having extensions applied professional the first time-
Your eyelash line and the surrounding area are sensitive. Applying for eyelash extensions on your own can be hazardous. The adhesive may irritate skin or harm natural lashes if not used cautiously. If you don’t feel cozier using those on your own, you may take the help of any skill to do it for you at the initial time. Once gone through the process, you likely will feel more at ease at doing on your own. Start by researching technicians and ensuring they are legit and figure out how long they have been doing so professionally.
#2- Putting eyelash extensions for initial time-
– Get ready for your natural lashes-
For glue to stick correctly, you must clean natural lashes and free them of any makeup residue. Also, they should be scorched. Start by putting makeup remover to a cotton pad and softly swipe it across the eyes. Eliminate every trace of makeup in the region of the eye and wash using lukewarm water. Let your eyelashes get dried up before you apply for extensions. Comb upper lashes with an eyelash brush to separate them.
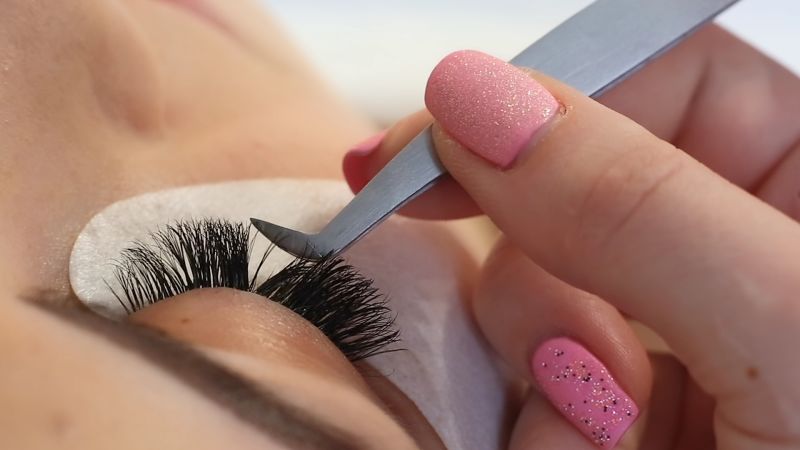
– Cover the region under the bottom lashes using a white, adhesive pad-
Your extension kit must include some gel pad to help touch down the underside lashes. This will keep the skin away from the bonding agent. Through glue padding, it becomes easier to see and work on individual lashes. When your eyelid is closed, upper lashes will be against white color, highlighting areas working on.
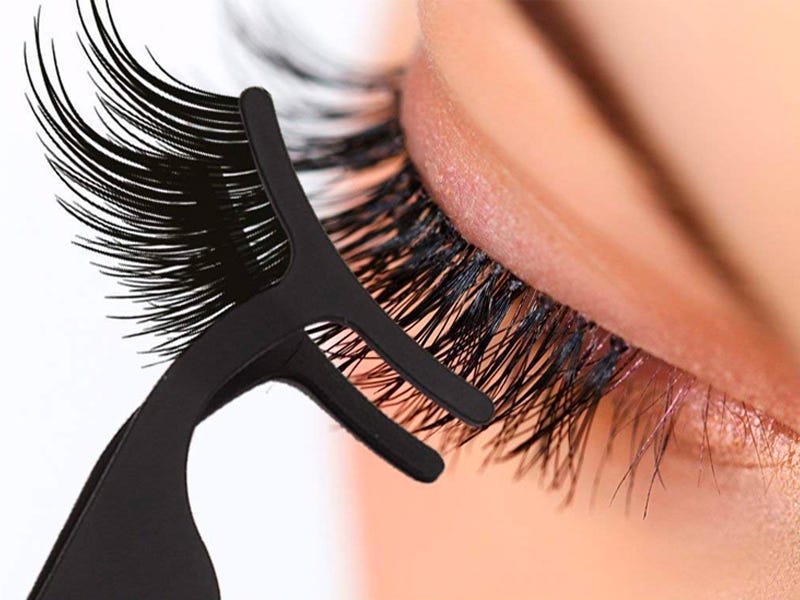
– Choose the length to use on the outmost side of the eye-
Extensions come in small bundles of eight or nine lashes. Since you are beginning at the eye’s outmost region, your most extended extensions will be used at first. Squeeze dime-sized proportion of lash glue on a smooth surface that’s accessible easily. Use tweezers for grabbing the first cluster and carefully dip the knotted end in glue.
– Place the first extension softly on the natural lash-
Close your eye and move it little as possible as you put extension. Drop lash on your natural lash. The glue must touch the lash, not the skin. Once the extension on your natural lash is dropped, you have a minute to locate it before glue sets.
– Apply long attachments to the outmost edges-
Work your way inward as you place each quantity. For a natural look, the most extended extension will go on the outer edge. Continue until you have applied three to four most extended extensions to the outer third of both eyes. Ensure that extensions aren’t too close. Through tweezers, you can adjust each one.
– Put medium length between long ones-
To add volume while getting the most natural look, place one medium extension between each long one. Work from outside to inwards. Take time as it’s not more comfortable to do so.
– Place medium to the mid of the eyelid-
After you have done with the outermost follow the same process for the central part. Use the medium-length extension on lashes and keep working from outside to in.
– Put shortest to inner eyelid-
After done with the midsection, use short ones to get close to the inner eyes. It can be challenging, and don’t be in a hurry.
– Allow it to set fully-
After several hours of its application, don’t put on mascara and don’t touch extensions. Give it 12 hours at least before getting them wet.
Finale-
Follow all these steps on how to DIY eyelash extensions yourself and make it a more straightforward process.